1. Overview
In this tutorial, we’ll look at how to disable Spring Cloud’s Discovery Clients using profiles. This can be useful in situations where we want to enable/disable service discovery without making any changes to the code.
2. Set up Eureka Server and Eureka Client
Let’s start by creating a Eureka Server and a Discovery Client.
First, we can set up our Eureka Server using Section 2 of the Spring Cloud Netflix Eureka tutorial.
2.1. Discovery Client Setup
The next part is to create another application that will register itself on the server. Let’s set up this application as a Discovery Client.
Let’s add the Web and Eureka Client starter dependencies to our pom.xml :
|
|
We also need to make sure that our cloud starter is present in the dependency management section and that the Spring Cloud version is set.
When creating the project using Spring Initializr, these will already be set. If not, we can add them to our pom.xml file:
|
|
2.2. Adding Configuration Properties
Once we have the dependencies in place, all we need to do is add our new client application’s configuration properties to the application.properties file:
This will ensure that when the application is started, it’ll register itself on the Eureka server, which is at the URL specified above. It will be called spring-cloud-eureka-client.
We should note that normally, we also use @EnableDiscoveryClient annotation on a configuration class to enable Discovery Clients. However, we don’t need the annotation if we use the Spring Cloud starters. Discovery Client is enabled by default. Plus, when it finds the Netflix Eureka Client on the classpath, it will auto-configure it.
2.3. Hello World Controller
To test our application, we’ll need a sample URL we can hit. Let’s create a simple controller that will return a greeting message:
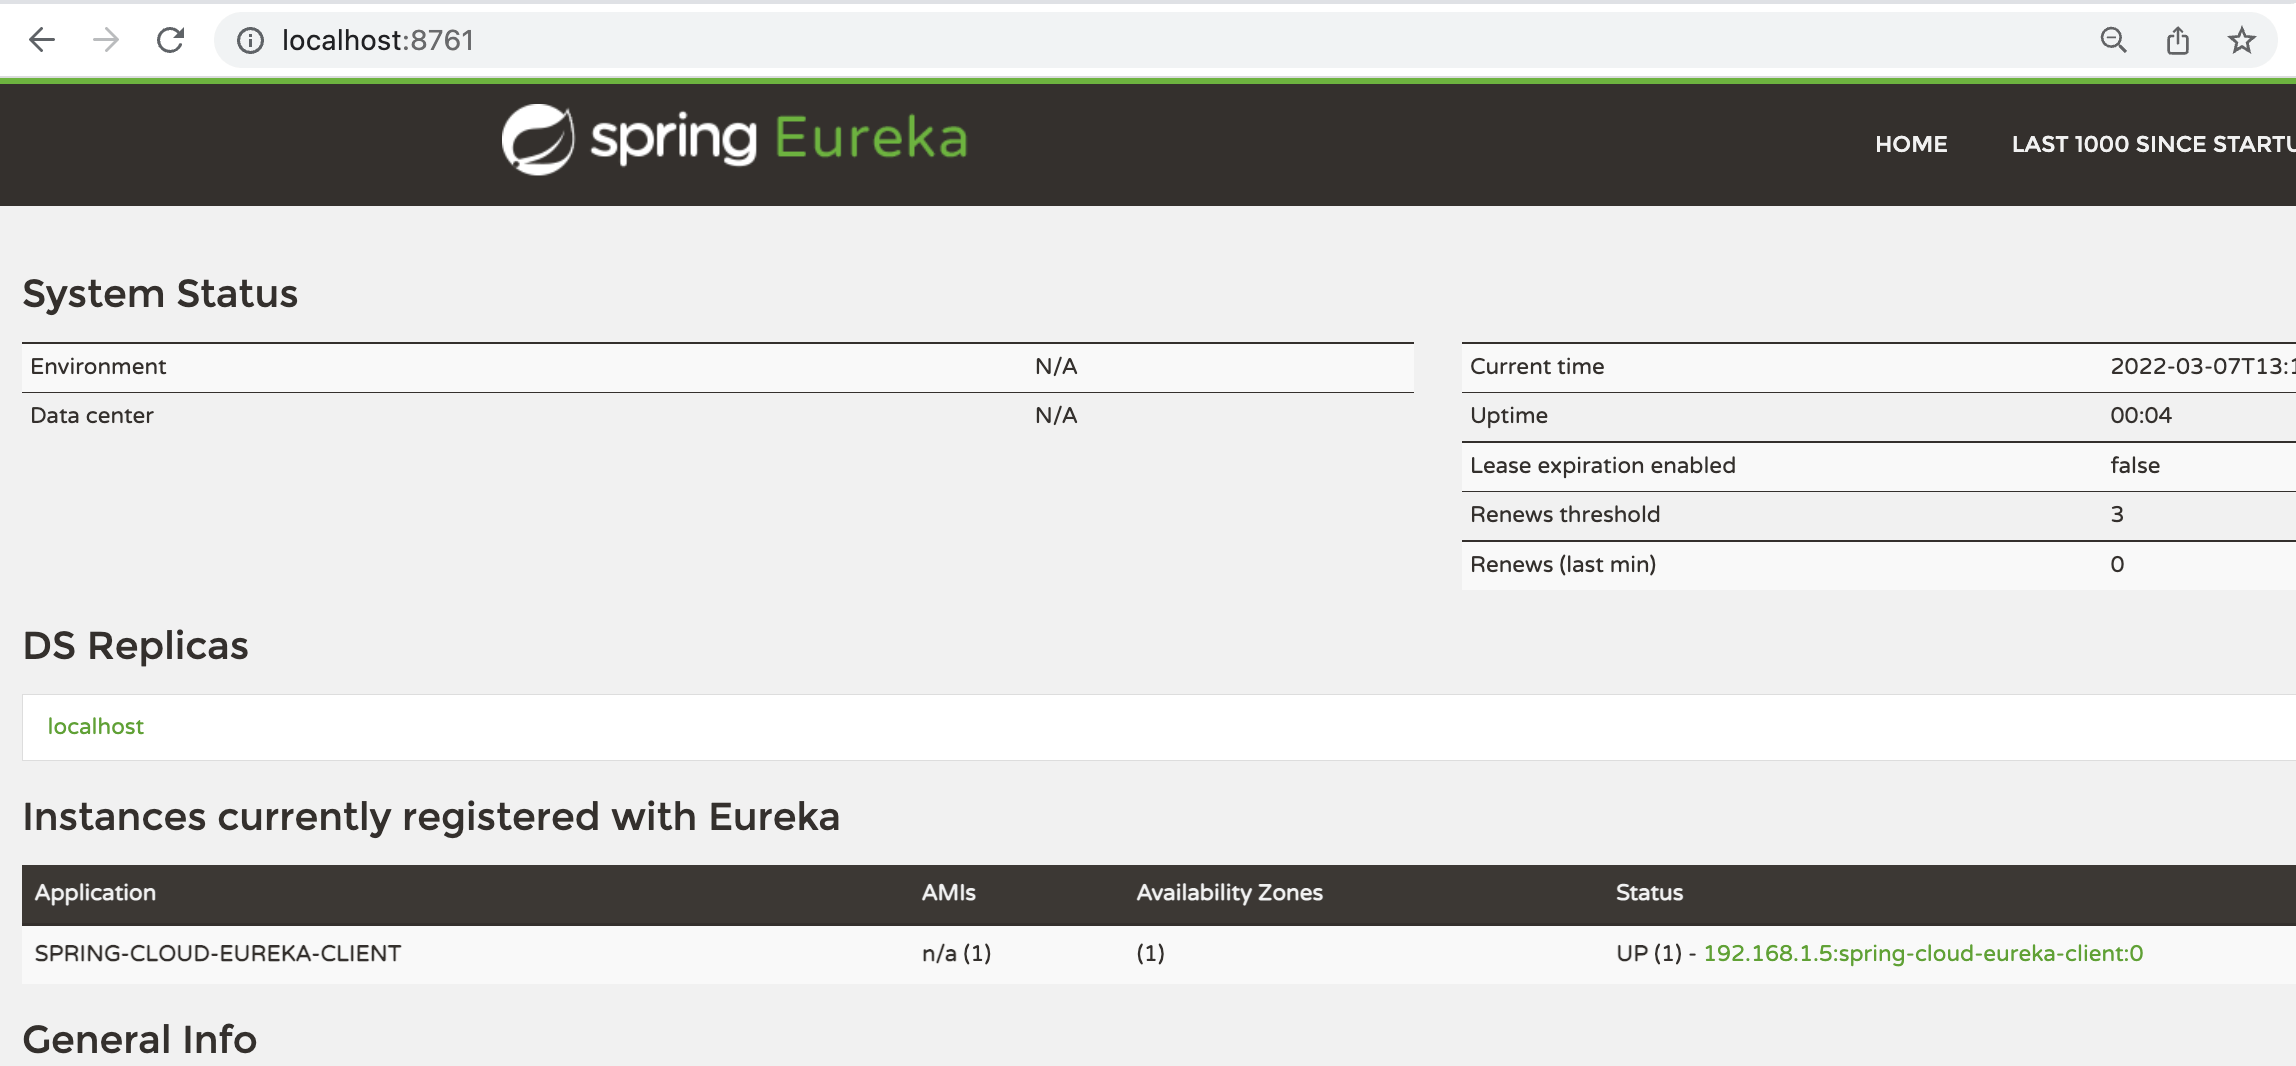
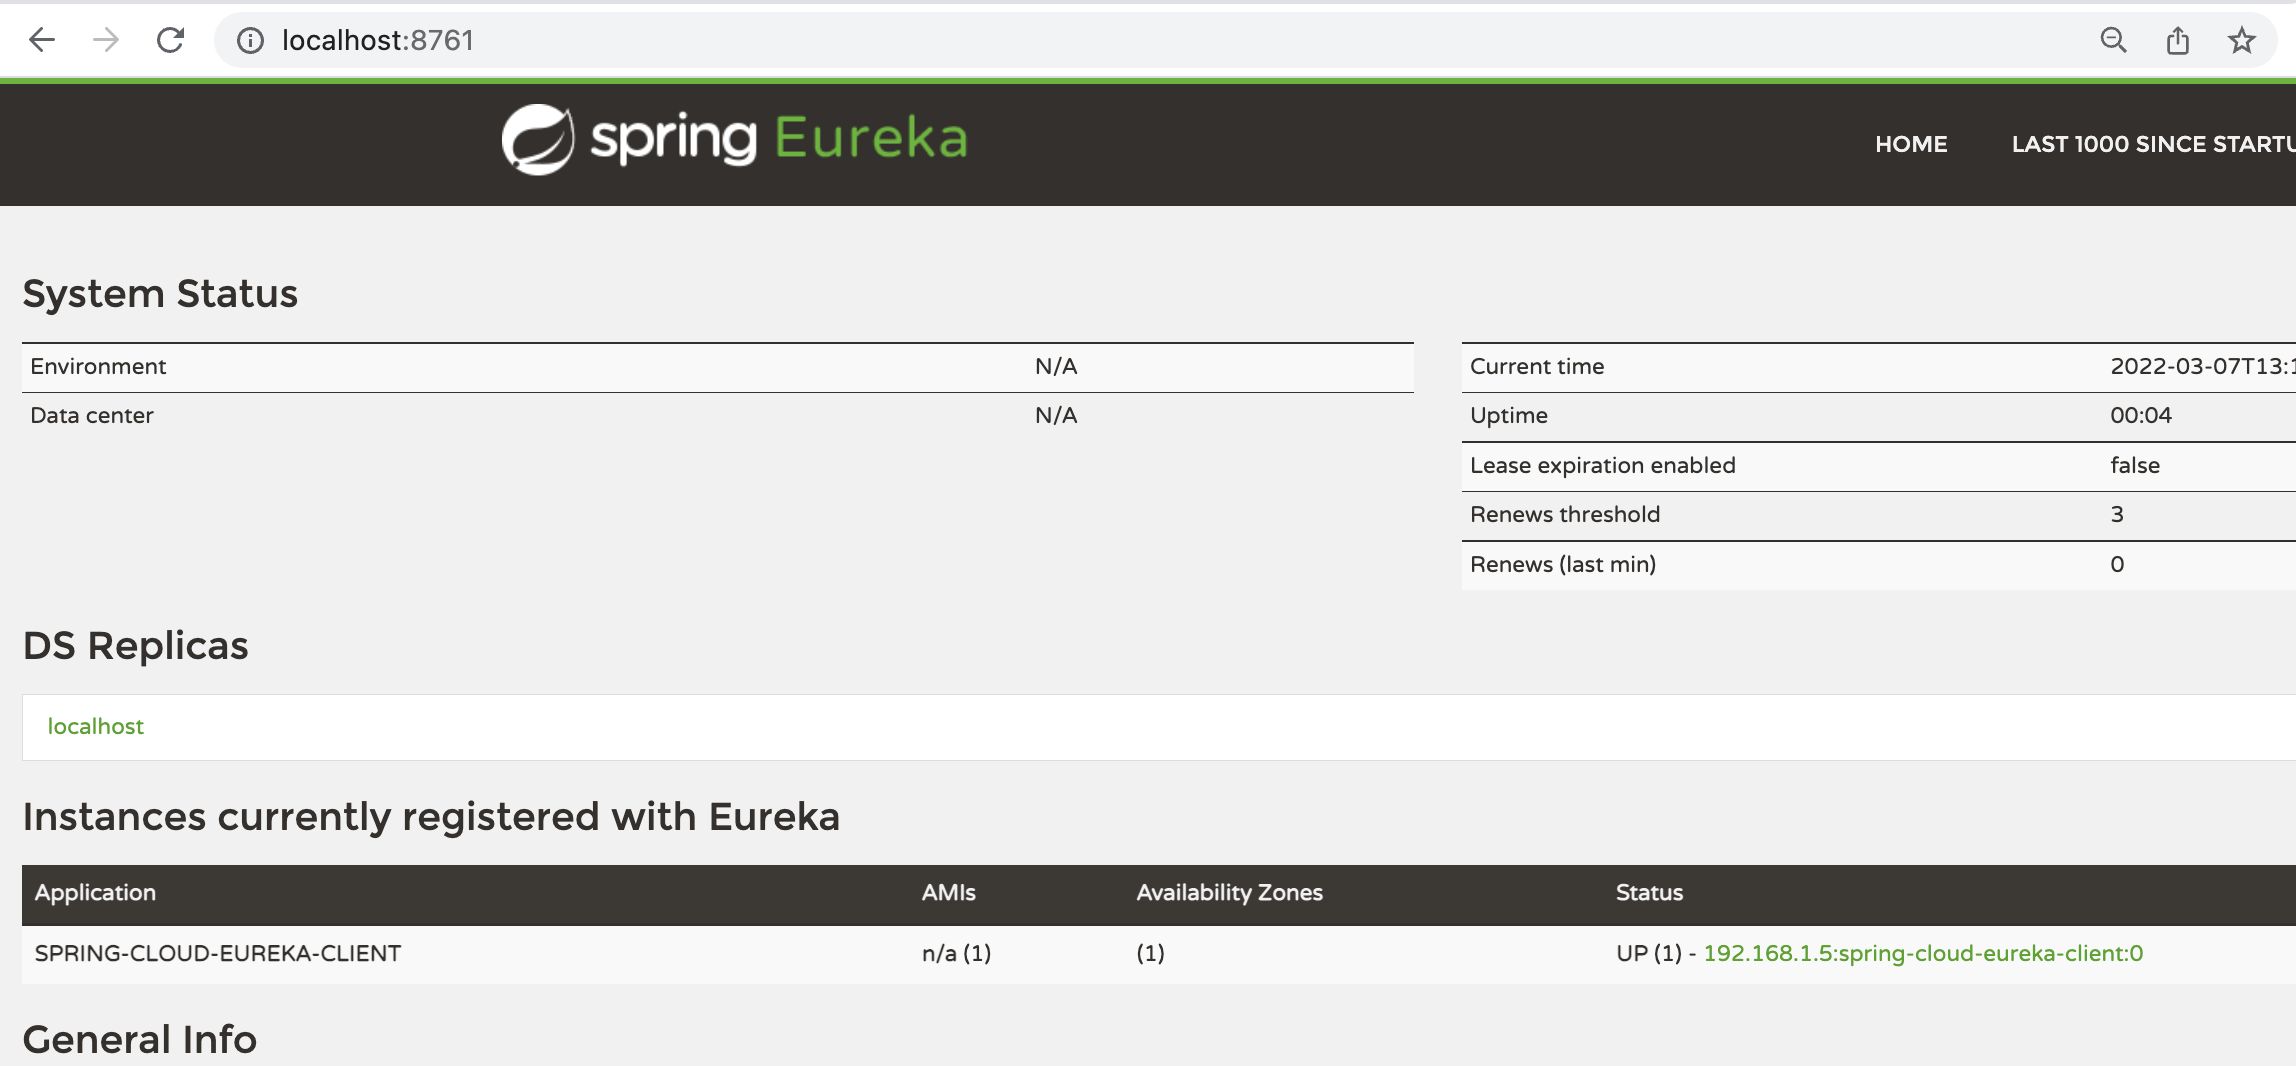
Now, it’s time to run the Eureka Server and the Discovery Client. When we run the application, the Discovery Client will register with the Eureka Server. We can see the same on the Eureka Server dashboard:

3. Profile-Based Configuration
There can be situations where we may want to disable service registration. One reason might be the environment.
For example, we may want to disable Discovery Clients in local development environments because running a Eureka server every time we want to test locally can be unnecessary. Let’s see how we can achieve this.
We’ll change properties in the application.properties file to enable and disable Discovery Clients per profile.
3.1. Using Separate Properties Files
One easy and popular way is to use separate properties files per environment.
So, let’s create another property file named application-dev.properties:
|
|
We can enable/disable Discovery Clients using the spring.cloud.discovery.enabled property. We’ve set it to false to disable Discovery Clients.
When the dev profile is active, this file will be used instead of the original properties file.
3.2. Using Multi-Document Files
If we don’t want to use separate files per environment, another option is to use Multi-document properties files.
We’re going to add two properties to do this:
For this technique, we use '#—' to divide our properties file into two parts. Further, we’ll use the spring.config.activate.on-profile property. These two lines, used in conjunction, instruct the application to read the properties defined in the current part only if a profile is active . In our case, we’re going to use the dev profile.
In the same way, as previously, we’ve set the spring.cloud.discovery.enabled property to false .
This will disable Discovery Clients in the dev profile but keep them enabled when the profile isn’t active.
4. Testing
Now, it’s time to run the Eureka Server and the Discovery Client and test if everything works as expected. We haven’t added the profile yet. When we run the application, the Discovery Client will register with the Eureka Server. We can see the same on the Eureka Server dashboard:

4.1. Testing with Profile
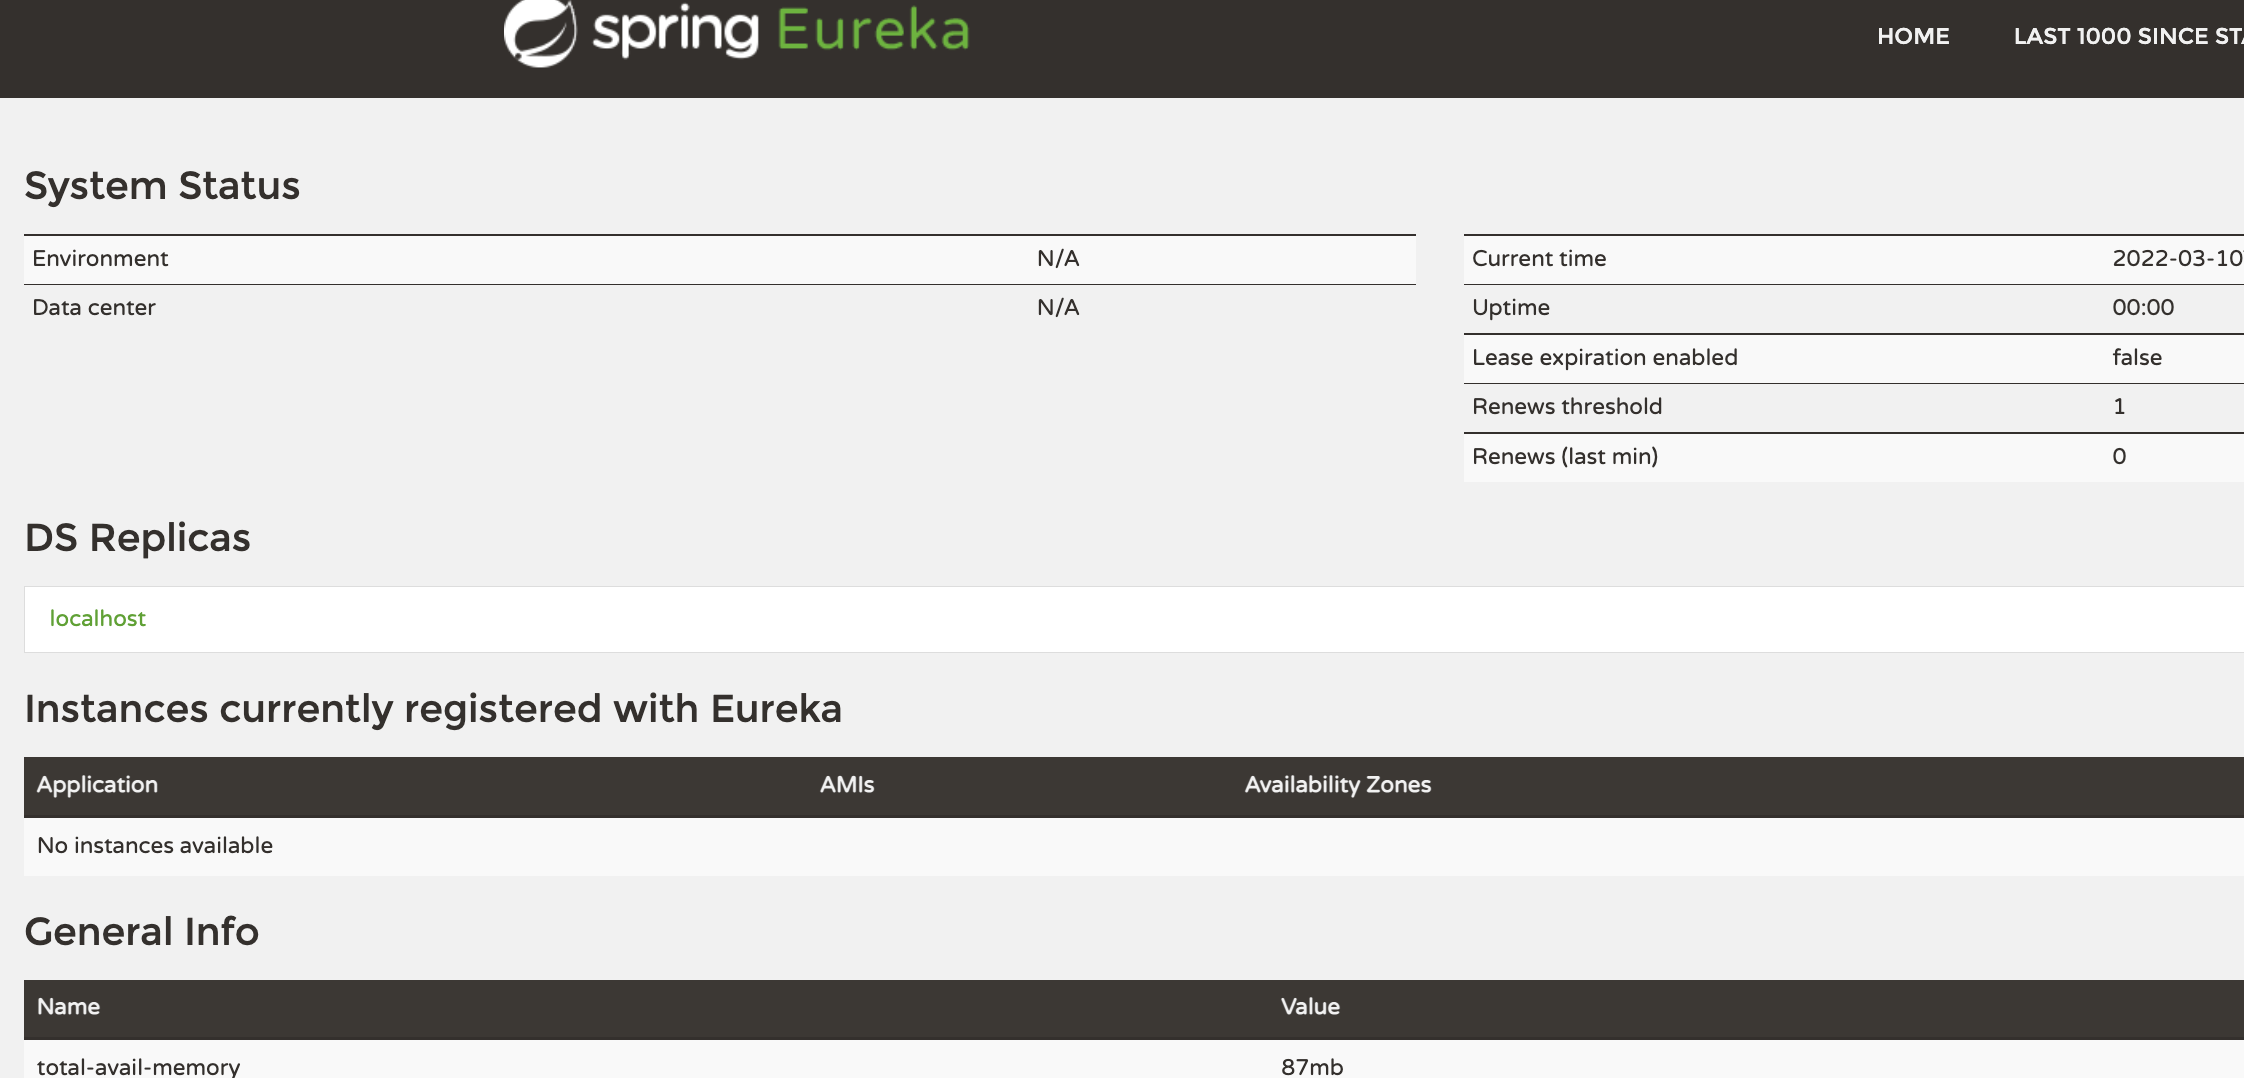
Next, we’ll add the profile while running the application. We can add the command-line argument -Dspring.profiles.active=dev to enable the dev profile. When we run the application, we can see the client does not register with the Eureka Server this time:

5. Conclusion
In this tutorial, we learned how to use properties to add configurations based on profiles. We used the same method to disable Discovery Clients based on active profiles.
As always, the code for this tutorial is available over on GitHub.
Reference https://www.baeldung.com/spring-cloud-disable-discovery-clients